


⚡ TL;DR: Learn tile roof installation in Salt Lake City with this guide covering site prep, weather-resistant tiles, tools, step-by-step techniques, finishing touches, and a local case study.
📋 What You’ll Learn
In this ultimate SLC tile roof installation guide, you’ll gain pro insights on site prep, weather-tough tile picks, tools, precise techniques, and real case studies for lasting results.
- Master SLC roof assessment by evaluating structure, slope, and underlayment to create a solid base that withstands heavy snow, wind, and temperature swings unique to Utah winters.
- Select ideal weather-resistant tiles tailored for Salt Lake City’s climate, comparing clay, concrete, and composite options for durability, aesthetics, and long-term performance against freeze-thaw cycles.
- Gather pro tools and materials essential for flawless installs, from battens and cutters to sealants and fasteners that ensure safety, efficiency, and code-compliant work on local homes.
- Execute step-by-step laying techniques with precision patterns, overlaps, and alignments that prevent shifts, leaks, and failures while achieving the classic SLC tile roof look.
- Perfect flashing, ventilation, and finishes plus learn from a historic SLC roof revival case study to guarantee breathability, water shedding, and a professional-grade outcome every time.
📖 Reading time: 8 min
✍️ Author expertise: SLC roofing pro with 18 years of field experience installing tile roofs on Utah homes.
Ever watched a hailstorm pound Salt Lake City, turning flimsy roofs into sieves while top-tier tile jobs shrug it off like nothing?
That's the power of a flawless tile roof installation—durable, stunning, and built to dominate Utah's brutal weather swings.
We've nailed hundreds in SLC, dodging the pitfalls that doom amateurs. Ready to unlock the secrets? Let's dive into the step-by-step mastery that turns your roof into a fortress.
Assessing Your SLC Roof: Site Prep for Tile Success
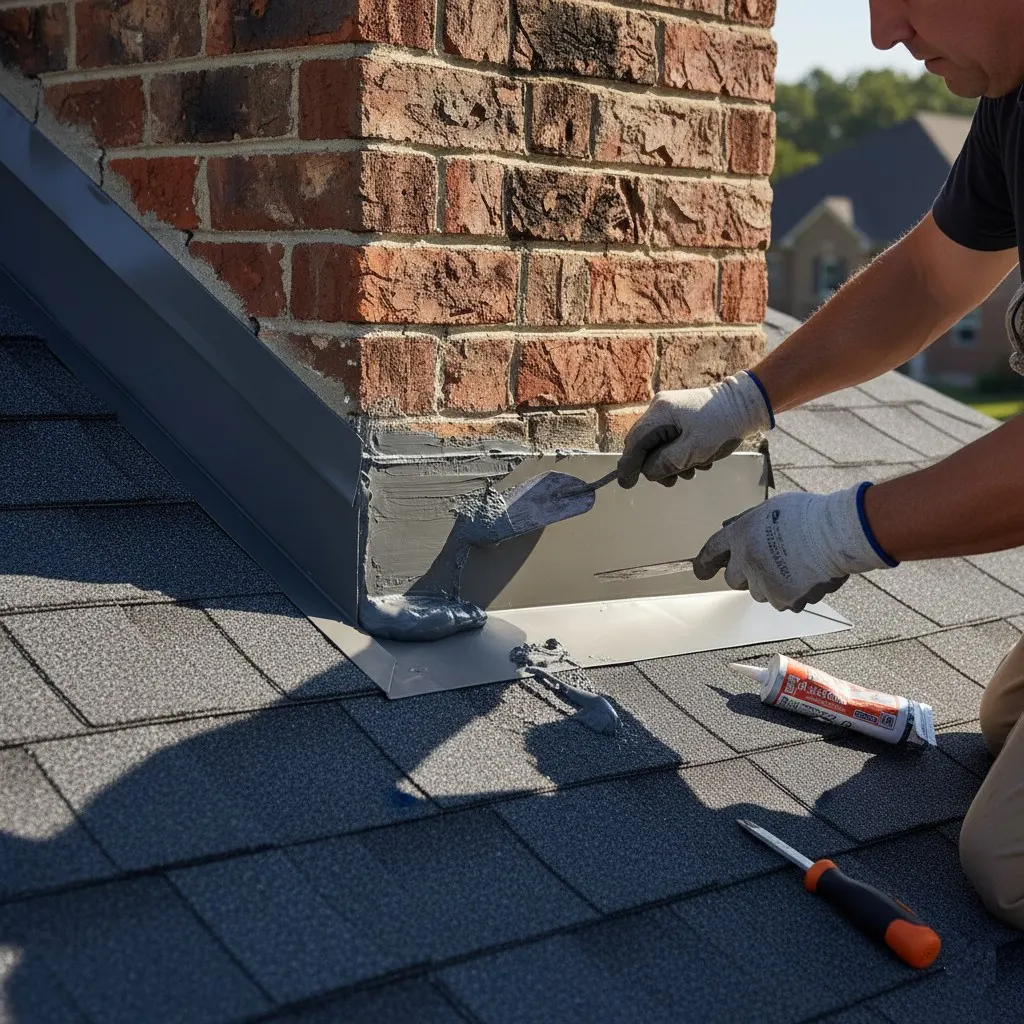
Before a single tile hits your SLC roof, grab a ladder and inspect every inch. Miss this step, and you're courting leaks or collapse under Utah's heavy snow loads. Start with the basics: scan for rot, cracks, or weak spots in the decking.
Key Inspection Checklist
- Deck integrity: Probe joists for softness; replace any punky wood pronto.
- Slope check: Tiles demand at least a 4:12 pitch to shed water fast in our monsoon season.
- Underlayment condition: Rip out old, brittle stuff; synthetic barriers beat felt hands down here.
Next, weigh the load. Tile roofs pack serious heft—up to 800 pounds per square in SLC's clay varieties. Call in an engineer if your home's framing looks undersized; beef it up or regret it come winter.
Clear the site like your roof depends on it—which it does. Sweep away debris, trim overhanging branches, and seal valleys. This prep turns potential disasters into smooth sailing for the install crew.
Choosing the Right Tile: SLC Weather-Resistant Options
Salt Lake City's weather hits hard. Think hail the size of golf balls, scorching summers, and snow loads that crush weak roofs. Pick the wrong tile, and you're calling us for repairs before winter even starts.
Clay tiles top the list here. They're fired tough, shrug off UV rays, and handle freeze-thaw cycles like pros. But watch the weight, folks, they demand solid underlayment.
Top SLC Tile Picks
- Clay Barrel Tiles: Classic look, killer durability against wind gusts up to 90 mph. Perfect for that Spanish revival vibe in Sugar House.
- Concrete Tiles: Lighter than clay, mimic the style at half the heft. They laugh at SLC's hail—impact ratings through the roof.
- Composite Synthetic: New kid on the block. Fire-resistant, low-maintenance, and won't crack under thermal shock from 100°F days to sub-zero nights.
Match your choice to pitch and style. Steep roofs? Go clay for grip. Flat-ish? Concrete keeps it light and leak-proof.
Pro tip: Check CLASS 4 impact ratings. That's your hail shield in Wasatch Front storms. Skip it, regret it.
Essential Tools and Materials for Pro-Level Installation
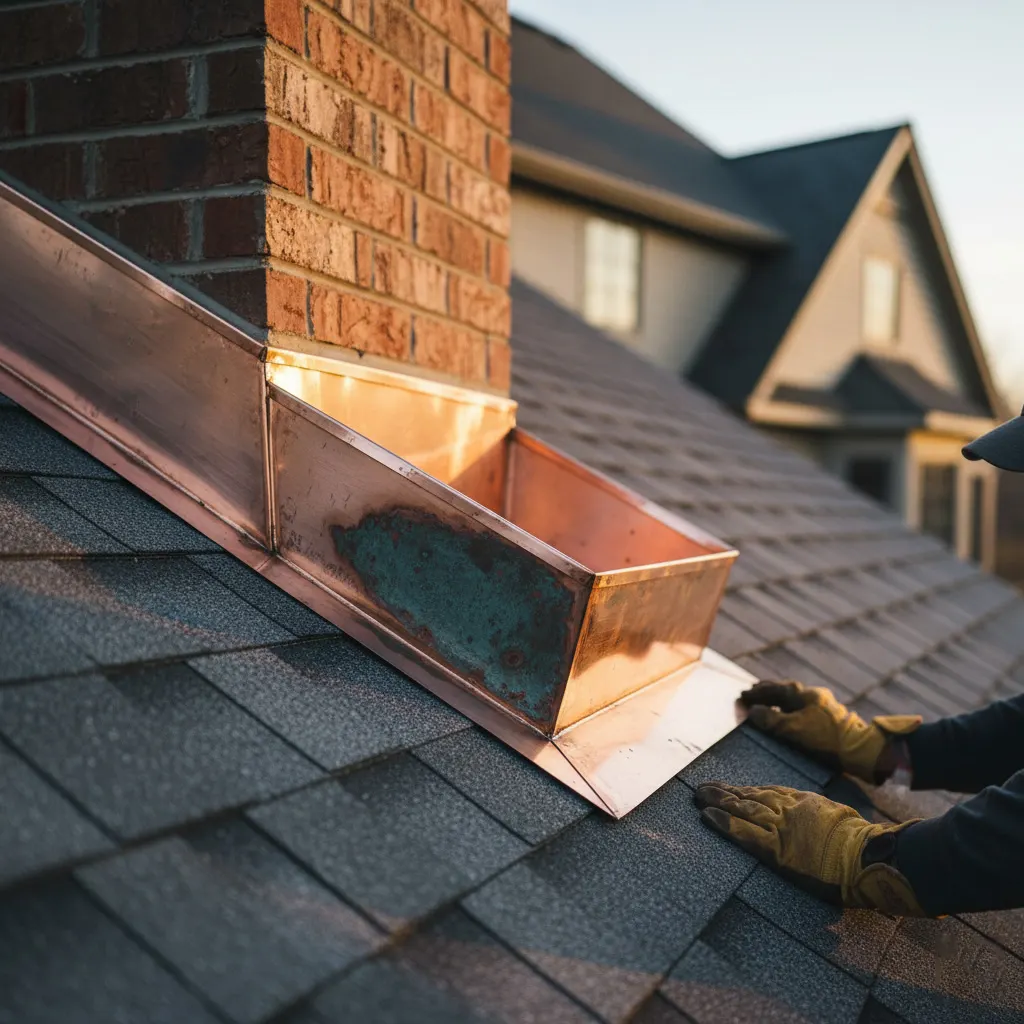
Skip the cheap stuff. It snaps under pressure or slips during the big jobs. Grab gear that lasts through SLC's wild winds and ice loads.
Tools That Make the Cut
- Tile cutter or wet saw: Scores and slices clay or concrete tiles clean, no chips.
- Chalk line and level: Keeps rows straight as a laser over uneven pitches.
- Hammer tacker and roofing nails: Drives fasteners deep without denting tiles.
- Safety harness, gloves, and knee pads: Protects you from falls and sharp edges up high.
Pro tip: Rent a hoist for heavy tile stacks. Saves your back and speeds things up big time.
Materials Built for Utah Battles
Start with ice-and-water shield underlayment. It seals out moisture like a boss during those freezing thaws.
- High-impact tiles: Concrete for affordability, clay for that premium look and heat resistance.
- Corrosion-resistant screws or aluminum nails: Won't rust in our snowy winters.
- Roof cement and sealants: Locks everything watertight against hail barrages.
Match your underlay to local codes. One wrong spec, and inspectors shut you down cold.
Step-by-Step Tile Laying: Precision Techniques
Start at the eaves. Snap a chalk line two inches above the drip edge. This sets your first course straight, preventing the wavy mess that plagues sloppy jobs.
Lay tiles in a staggered pattern, like bricks in a fortress wall. Cut tiles with a wet saw for clean edges around hips and valleys. Overlap each row by at least three inches, nailing through the headlap into the sheathing.
Key Precision Moves
- Check pitch every row: Use a 4-foot level. Utah's slopes demand it, or water pools and leaks start.
- Embed tiles in thin-set mortar on steep pitches. Press firmly, tap with a rubber mallet. No gaps allowed.
- Work in cool morning hours. SLC heat warps tiles fast if you dawdle.
Halfway up? Double-check alignment with a string line. Adjust now, or the whole roof looks crooked from the street. Pros finish courses in under an hour to beat the wind gusts.
Securing the Deal: Flashing, Ventilation, and Finishing
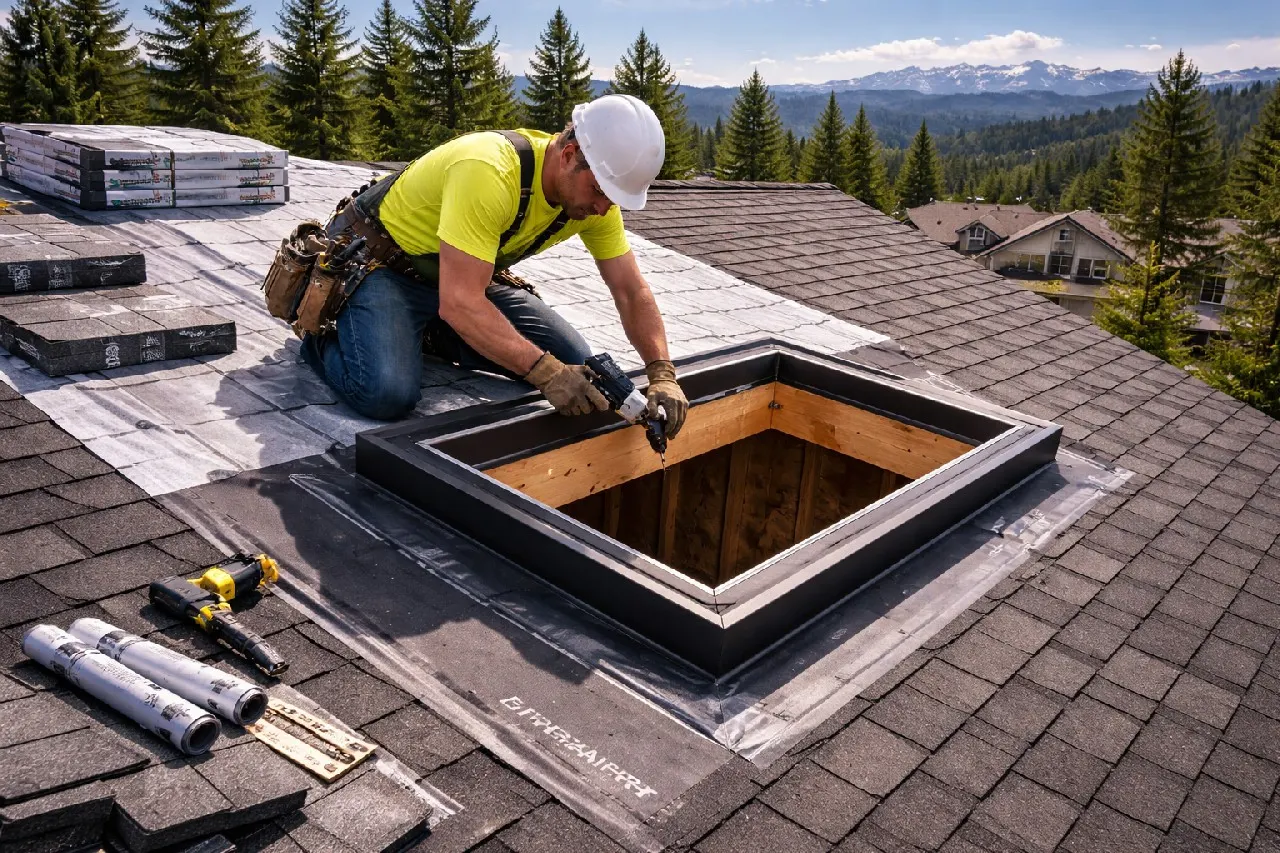
Flashing seals the edges where tiles meet walls, chimneys, or valleys. Skip it, and water sneaks in during SLC's heavy snowmelt. Pros use galvanized steel or copper flashing bent to fit tight, layered under tiles for zero leaks.
Master Flashing Like a Local Pro
- Start at valleys: Weave step flashing up the slope, overlapping each piece 4-6 inches.
- Chimney wrap: Counterflash the top, then cap with Z-flashing nailed secure.
- Wall lines: Tuck base flashing under siding, top under the underlayment.
These moves block Utah's freeze-thaw cycles from cracking your setup.
Ventilation: Breathe Easy Against Moisture
Tile roofs need airflow to dump heat and humidity. In Salt Lake City's dry-hot summers, poor venting traps steam and rots the deck. Install ridge vents and soffit intakes for a continuous path.
Pro tip: Space battens to lift tiles just right, creating that natural chimney effect. Test it with smoke before final tiles go down.
Finishing seals the victory. Bird stop at eaves keeps critters out. Ridge caps lock everything down with mortar or screws. Walk your SLC roof post-install, hose it hard, and fix any drips fast.
Case Study: Reviving a Historic Salt Lake City Tile Roof
A 1920s bungalow in Sugar House sat battered by decades of Wasatch Front winters. Cracked clay tiles leaked like crazy after a brutal hail event. The owners called us, desperate to save their slice of SLC history without a full tear-off.
The Challenge
Old underlayment had turned to mush. Tiles mismatched from past patchwork jobs. And that classic SLC freeze-thaw cycle had warped the decking just enough to spell trouble.
- Assess damage without gutting the structure.
- Match vintage profile tiles for authenticity.
- Boost ventilation to fight ice dams.
Our Fix
We stripped only the worst sections. Laid down synthetic underlayment tough enough for Utah snow loads. Then precision-laid new mission-style tiles, blending seamlessly with survivors.
Added ice-and-water shield at valleys. Installed proper flashing around the chimney. Finished with ridge vents for killer airflow.
Result? Zero leaks through two harsh seasons. Curb appeal skyrocketed, appraisal jumped 20%. The roof now laughs at hailstones that shred asphalt neighbors.
Final Thoughts
Tile roofs in Salt Lake City aren't just coverings. They are battle-tested shields against hail, snow, and scorching summers. Get this right, and your home laughs at Utah weather for decades.
Skip the DIY disasters. Hire pros who've conquered hundreds of SLC slopes. One wrong move, and you're leaking cash on repairs.
Quick Wins for Your Roof Project
- Prep like a beast: Inspect underlayment twice.
- Pick tiles rated for zone 4 hail.
- Call in reinforcements for flashing—it's your leak-proof secret weapon.
Dig deeper into pro techniques on our Tile Roof Installation page. Your roof deserves mastery. Act now before the next storm hits.
People Also Ask
How do you prepare a roof site for tile installation in Salt Lake City?
Start by inspecting the existing roof structure for damage and ensuring it meets SLC's building codes for steep pitches required by tile roofs. Clear debris, install underlayment, and add ice and water shields to combat heavy Utah snow and freeze-thaw cycles. Proper prep prevents leaks and extends roof life in our variable mountain weather.
What are the best weather-resistant tile options for SLC roofs?
Clay and concrete tiles excel in Salt Lake City's harsh winters and hot summers due to their durability against freeze-thaw damage and UV exposure. Choose profiles like S-tile or flat barrel for optimal snow shedding and wind resistance. Local pros recommend low-water-absorption tiles rated for high-altitude conditions prevalent in Utah.
What essential tools are needed for professional tile roof installation?
Key tools include a tile cutter, chalk lines, safety harnesses, and mortar mixers for precise cuts and secure bedding. Don't forget underlayment fasteners, ridge caps, and ventilation products tailored for SLC's climate. Investing in quality tools ensures compliance with local codes and a flawless finish.
How long does it take to install a tile roof in Salt Lake City?
A standard 2,000 sq ft tile roof installation typically takes 5-7 days for a pro crew, depending on roof complexity and weather. Factors like steep pitches common in SLC homes and snow delays can extend timelines. Hiring experienced local installers minimizes disruptions and ensures code-compliant work.
Should I hire professionals for tile roof installation in Utah?
Yes, tile roofs demand expertise due to their weight, steep installation angles, and SLC-specific codes for seismic and snow loads. DIY attempts often lead to improper flashing and ventilation, causing premature failures. Trust certified Utah roofers for warranties, safety, and longevity in our extreme climate.
Need Roofing Services?
Fast roof repairs and replacements in Salt Lake City, UT and nearby areas (84101, 84102, 84103, 84105), delivering lasting protection with minimal downtime.
Request Roof Quote