


⚡ TL;DR: This roof inspection checklist for Salt Lake City homeowners covers safety gear, ground and exterior checks, critical areas like flashing and gutters, interior leak signs, and a local case study.
📋 What You’ll Learn
In this Roof Inspection Checklist for Salt Lake City, you’ll master steps to evaluate your roof against Utah’s snow, ice dams, and wind, ensuring longevity and spotting issues early.
- Equip yourself with tools and safety gear tailored for SLC’s steep roofs and harsh weather, preventing slips and enabling thorough, secure inspections from the start.
- Conduct ground-level checks efficiently to spot sagging, debris buildup, or obvious damage before climbing, maximizing safety and focusing efforts on high-risk areas.
- Assess shingles for winter wear identifying granule loss, cracks, and curling from freeze-thaw cycles common in Salt Lake City to avoid costly leaks.
- Inspect critical zones like flashing and vents around chimneys, gutters, and valleys where failures lead to water intrusion during heavy Utah snowfalls.
- Detect interior red flags from attic moisture and ceiling stains, illustrated by a West Valley ice dam case study for real-world prevention strategies.
📖 Reading time: 7 min
✍️ Author expertise: Salt Lake City roofing pro with 18 years of field inspections in Utah’s extreme weather.
Imagine climbing onto your roof after a brutal Salt Lake City winter, only to spot cracks snaking through shingles like fault lines ready to split wide open. One overlooked flaw here, and you're staring down a $15,000 repair bill before spring hits.
We've seen it crush homeowners from Sugar House to the Avenues—silent leaks turning into full-blown disasters because nobody checked the basics.
Grab our no-BS roof inspection checklist tailored for SLC's wild weather, and spot trouble before it spots you.

Tools and Safety Gear for Safe SLC Roof Inspections
Before you step foot on that slippery slope, gear up right. One slip in SLC's leftover ice, and you're nursing more than bruises. Nail the basics first.
Essential Tools You Need
- Binoculars: Spot shingle damage from the ground without risking a climb.
- Flashlight or headlamp: Check dark corners, especially under eaves packed with winter debris.
- Moisture meter: Test for hidden dampness before it rots your rafters.
- Ladder stabilizer and extension ladder: Stable footing beats a wobbly setup every time.
- Camera or phone: Snap pics of issues for your contractor quote.
Safety gear isn't optional here. SLC winds gust fierce, and roofs stay slick post-snowmelt. Skip it, and that "quick check" turns into a hospital run.
Must-Have Safety Kit
- Harness with roof anchor: Tie off if climbing steep pitches common in the Wasatch Front.
- Non-slip boots and gloves: Grip trumps fancy every time on wet asphalt shingles.
- Hard hat: Falling debris from iced gutters hits hard.
- First-aid kit: Bandages for cuts, ice packs for twists.
Ground-Level Checks: What to Spot Before Climbing Up
Before your boots hit the roof, circle the house like a hawk eyeing prey. SLC's freeze-thaw cycles wreak havoc from the ground up, so spot the obvious red flags first. This saves you slips, falls, and wasted time.
Quick Gutters and Drainage Scan
- Look for sagging gutters or sections pulling away from the fascia—prime leak starters after heavy snowmelt.
- Check downspouts: clogged with leaves or ice? Water backs up and rots your eaves fast.
- Overflow stains on siding scream poor drainage. Fix that before climbing.
Now scan the big picture. Trees rubbing shingles? Branches loaded with snow can snap and punch holes. Moss or algae streaks mean trapped moisture eating at your underlayment. Jot these down—they're your roadmap up top.
Exterior Shingle and Material Inspection for Winter Wear
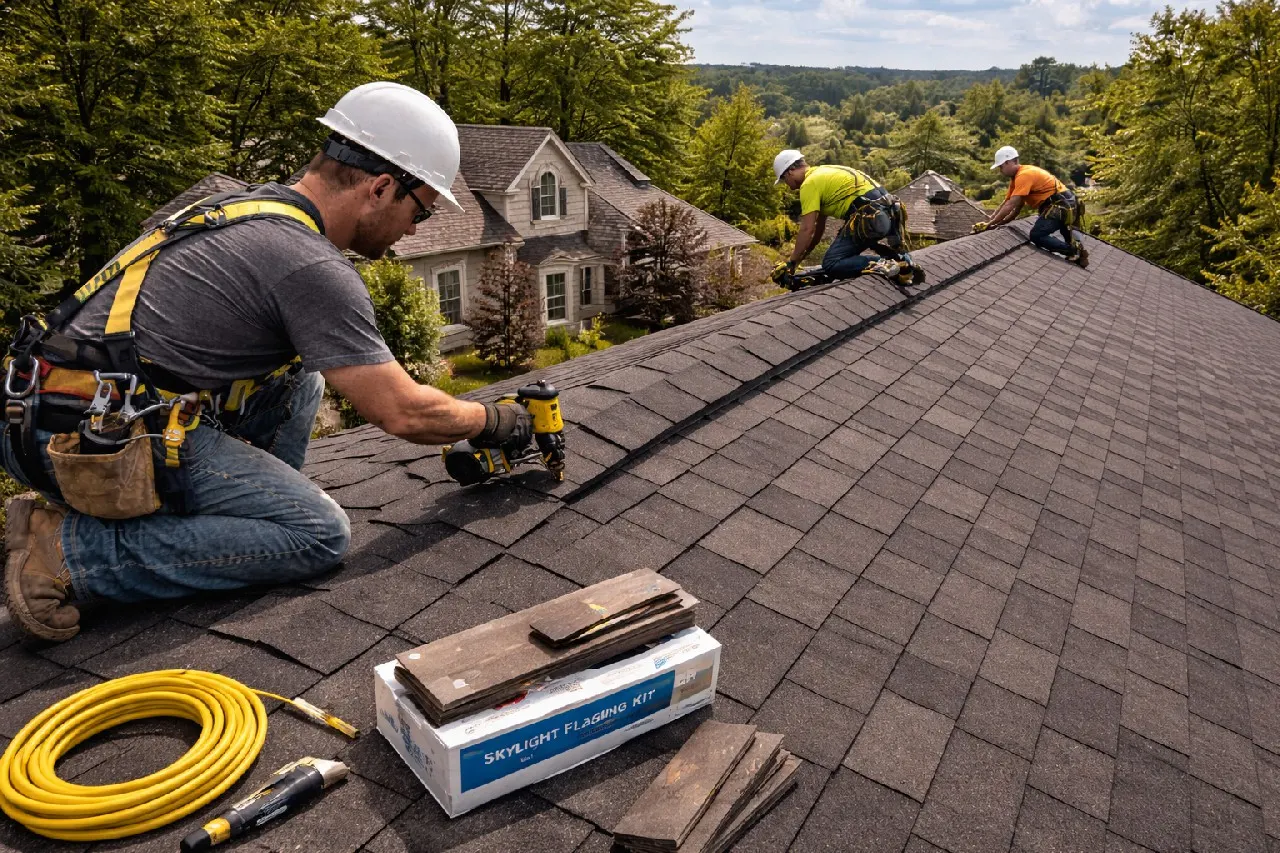
Salt Lake City's freeze-thaw cycles beat the hell out of your shingles. Look for cracked or curled edges first. Those are screaming for replacement before the next storm hits.
Shingle Damage Signs You Can't Ignore
- Missing granules: Rub your hand over a few. Black streaks mean they're shedding like crazy from ice and hail.
- Buckled spots: Push down gently. If it gives too easy, water's gotten under there and expanded.
- Bruised or dented areas: Hail from last winter leaves battle scars. Probe with a screwdriver for soft underlayment.
Don't stop at shingles. Check your underlayment peeking through gaps. If it's torn or brittle, snowmelt will infiltrate fast.
Asphalt holds up okay here, but metal roofs? Scan for rust pits from road salt spray. One weak seam, and you're leaking like a sieve come spring.
Critical Areas: Flashing, Vents, Chimneys, and Gutters
Flashing: Seal the Gaps Where Water Loves to Sneak In
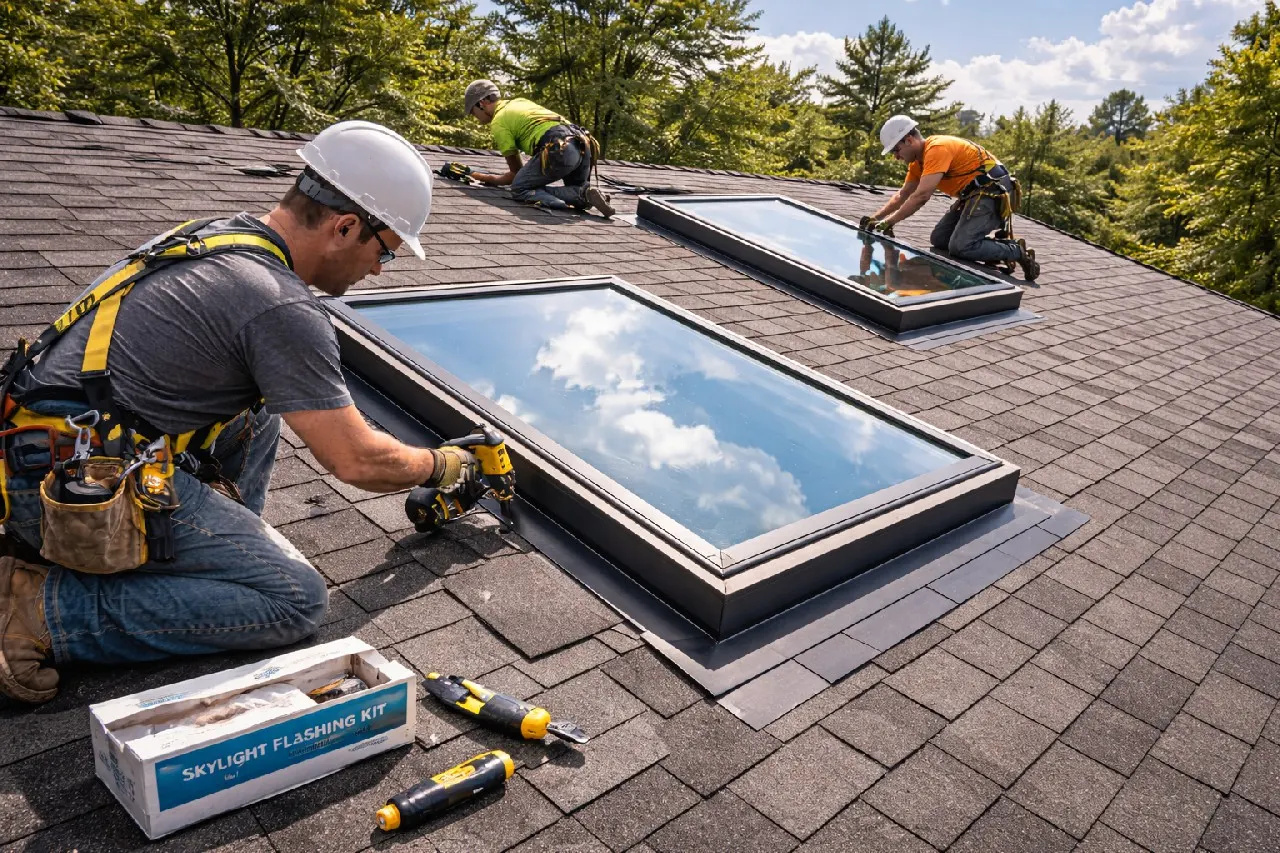
SLC's freeze-thaw cycles hammer flashing around chimneys, valleys, and skylights. Look for cracked or lifted edges—they let water slip under shingles like a thief in the night.
Probe gently with a putty knife. If sealant crumbles or metal rusts, mark it. One bad flashing spot flooded a Herriman home last winter—we fixed it before the attic turned into a swamp.
Vents and Chimneys: Blockages That Spell Trouble
- Check roof vents for bird nests or leaves clogging the top—common after fall winds here.
- Scan chimney crowns for cracks wider than a pencil lead; mortar gaps invite leaks.
- Feel around bases for soft spots or loose bricks—ice expansion pushes them out fast.
Missing spark arrestors on chimneys? Fire risk skyrockets in dry summers. Snap photos now to show your roofer.
Gutters: Overflow Disasters Waiting to Happen
Clogged gutters in Salt Lake back up fast during snowmelt. Ice dams form when water can't drain, ripping gutters right off the fascia.
Run your hand along seams—loose joints leak onto wood below. Downspouts bent or crushed? Straighten 'em or replace to keep water flowing away from your foundation.
Interior Red Flags: Attic, Ceilings, and Leak Signs
Head inside next. Your attic tells the real story of roof damage from SLC's freeze-thaw cycles. Skip this, and small leaks become mold factories.
Attic Must-Checks
- Dark stains on rafters or plywood – that's water working overtime.
- Sagging insulation or wet spots screaming ice dam invasion.
- Daylight peeking through cracks? Your roof's barrier is shot.
Grab a flashlight. Poke around corners. One whiff of musty air means trouble's brewing.
Ceiling and Wall Warnings
Scan ceilings for yellow-brown rings. Those are old leaks plotting comebacks. Bubbling paint or peeling spots? Water's been partying up there.
Check walls near the roofline too. Soft drywall crumbles under your finger? Emergency time. Snap photos now – proof for insurance later.
Case Study: Rescuing a West Valley Roof from Ice Dam Collapse
Meet Mike from West Valley City. After last winter's relentless snow dumps, his calls started with drips in the kitchen. By inspection time, ice dams had formed massive ridges along his roof edge, trapping meltwater that punched through shingles and soaked the attic.
We hit the roof fast. Ground checks showed gutters clogged with ice chunks. Up top, shingles were buckling under frozen weight, and flashing around the chimney had pulled loose.
Key Damage Points We Fixed
- Ice dam removal: Heated cables installed to prevent refreezing.
- Shingle replacement: 200 sq ft torn out and resealed with impact-resistant asphalt.
- Gutter overhaul: New seamless aluminum system with guards.
- Attic ventilation boost: Ridge vents added to cut moisture buildup.
Three weeks later? Zero leaks. Mike's roof stood strong through the next storm. Cost him $4,200 instead of the $18K full tear-off he dodged.
Final Thoughts
Stick this checklist on your fridge. Run through it twice a year—once before winter slams SLC, once after the thaw.
Spot a single red flag? Don't mess around. Call pros for a full roof inspection right then. Saves you thousands in headaches.
Quick Action Plan
- Photograph every issue for records.
- Track fixes with dates.
- Budget now for surprises.
We've pulled roofs back from the brink in West Valley and beyond. Your turn to dodge the bullet.
People Also Ask
How often should homeowners in Salt Lake City inspect their roofs?
In Salt Lake City, inspect your roof at least twice a year—spring and fall—to catch winter damage early. After major storms or heavy snowfall, schedule an immediate check to prevent issues like ice dams. Professional inspections annually ensure longevity in Utah's harsh climate. Authoritative guidance: moisture control.
What are common signs of roof damage from winter in SLC?
Look for missing shingles, ice dams, or granule loss on asphalt roofs due to snow and freeze-thaw cycles common in Salt Lake City. Interior signs include water stains on ceilings or attic mold from leaks. Addressing these promptly avoids costly repairs during Utah winters.
Can I perform a DIY roof inspection in Salt Lake City?
Yes, start with ground-level and interior checks using our checklist, but avoid climbing if you're not experienced due to steep pitches and safety risks in SLC's variable weather. Use binoculars for exterior views and prioritize safety gear. For thorough assessments, hire local pros familiar with Utah's roofing challenges.
When is the best time for a roof inspection in Salt Lake City?
The ideal times are late spring after snowmelt and early fall before winter hits Salt Lake City. Avoid inspections during icy conditions or high winds common in Utah. Scheduling post-storm ensures hidden damage from hail or heavy snow is identified early.
How much does a professional roof inspection cost in Salt Lake City?
Professional roof inspections in SLC typically range from $200 to $500, depending on roof size and accessibility. Many local roofing companies offer free inspections with repair quotes. This investment prevents thousands in future damage from Utah's extreme weather.
Need Roofing Services?
Fast roof repairs and replacements in Salt Lake City, UT and nearby areas (84101, 84102, 84103, 84105), delivering lasting protection with minimal downtime.
Request Roof Quote