


⚡ TL;DR: This guide teaches Buffalo homeowners about Ice and Water Shield Installation to combat ice dams, with installation steps, benefits, and a real-life success story.
📋 What You’ll Learn
In this Buffalo-focused guide on ice and water shields, you’ll learn how they combat ice dams, prime installation spots, pro techniques, key benefits, and a local Kenmore rescue story.
- Understand ice and water shields and their waterproof membrane action that seals out leaks from melting snow and refreezing ice dams in Buffalo winters.
- Grasp ice dam dangers for local homeowners, from attic flooding and mold to structural rot caused by our heavy lake-effect snow and freeze-thaw cycles.
- Identify top roof locations like eaves, valleys, dormers, and penetrations where shields provide the strongest defense against Buffalo's ice buildup.
- Master professional installation steps from prep and overlap to edge sealing, plus benefits like cost savings seen in a Kenmore case study.
📖 Reading time: 7 min
✍️ Author expertise: Buffalo roofer with 15+ years of hands-on ice shield installs in Western NY.
Buffalo winters hit like a freight train—relentless snow piling up, ice dams forming overnight, and suddenly your roof's springing leaks that soak your insulation, walls, and dreams of a dry home.
One wrong move, and you're staring at thousands in repairs before spring even thaws.
Enter ice shields: the tough, self-sealing barrier that locks out water under shingles and stops those sneaky ice dam leaks cold.
We've installed them across Buffalo for years, watching homeowners dodge disaster year after year.
Keep reading to discover exactly how ice and water shield installation saves your roof—and your sanity—from Buffalo's brutal freeze.

What Are Ice and Water Shields and How Do They Work?
Ice and water shields are your roof's secret weapon. Think of them as a thick, sticky rubberized asphalt membrane, about 30 mils thick, that glues right to your roof deck under the shingles.
They stick like glue and self-seal around nails or screws punched through them. No gaps. No excuses for water to sneak in.
Simple Breakdown: How They Stop Leaks Dead
When ice dams form, melting snow refreezes at the eaves, creating a dam that backs water up under your shingles. Regular underlayment? It fails here.
Ice shields flex with the ice pressure. Water hits the membrane, can't penetrate, and reroutes harmlessly off the roof.
- Self-sealing nails: Punched fasteners ooze sealant to block paths.
- Full waterproof layer: Covers valleys, eaves, and penetrations.
- UV protection: Holds up for months if exposed during install.
Why Ice Dams Are a Buffalo Homeowner's Worst Nightmare
Picture this: heavy snow melts from your warm attic heat, trickles down to the cold eaves, and refreezes into a rock-hard ice dam. That dam backs up water under your shingles, forcing it straight into your home. In Buffalo, with our lake-effect snow dumps, this happens every brutal winter.
The damage sneaks up fast. Water seeps into walls and ceilings, ruining insulation and sparking mold growth that hits your health hard. Left unchecked, it rots roof decking and invites bigger structural headaches.
Common Ice Dam Disasters We See in Buffalo
- Stained ceilings turning into full-blown collapses.
- Thousands in water extraction and drywall replacement.
- Escalating energy bills from soaked, worthless insulation.
- That sinking feeling when spring reveals the rot underneath.
We've pulled families out of these messes right here in Cheektowaga and beyond. Skip the ice dam drama. Get shields installed before the next storm slams us.
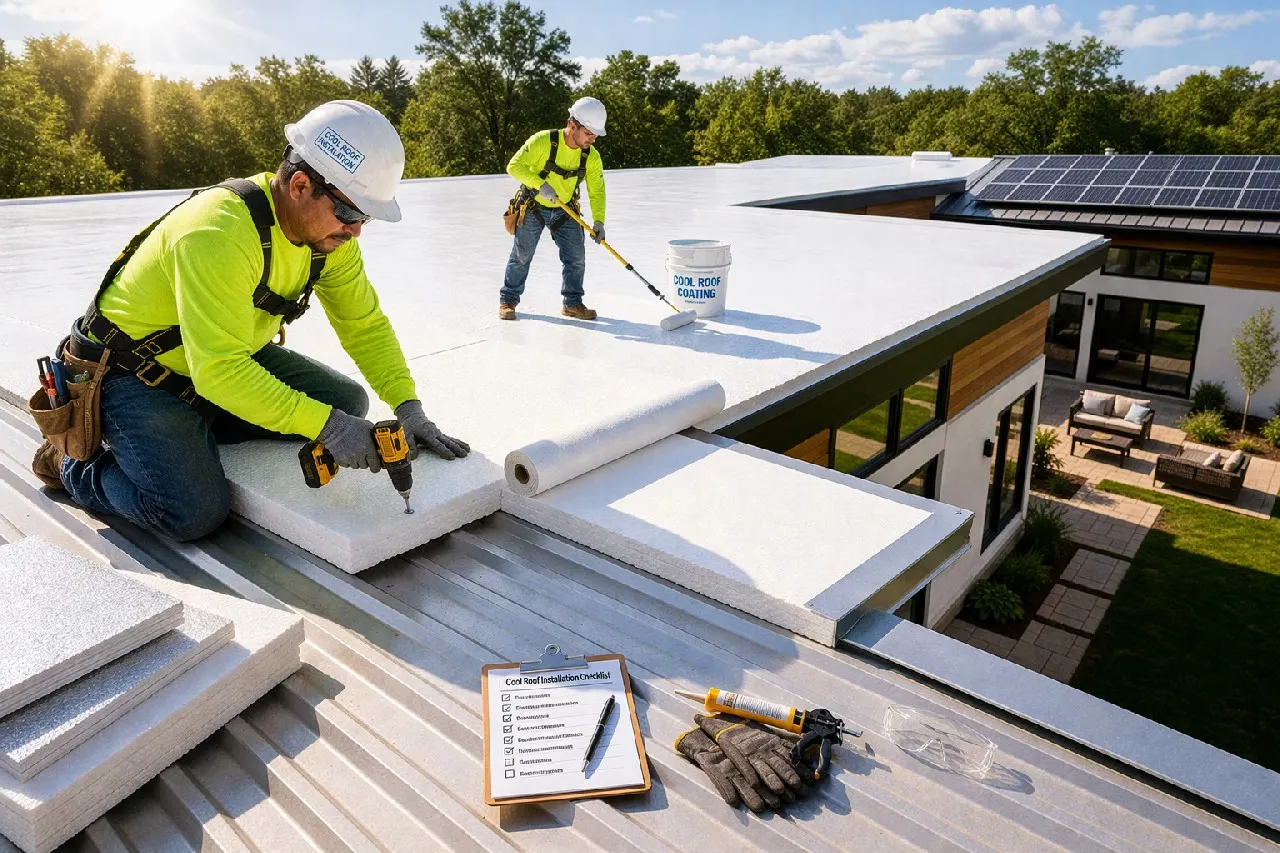
Ideal Locations for Ice Shield Installation on Your Roof
Pinpointing the right spots for ice shields makes all the difference. Water from ice dams loves to sneak in where your roof meets the edges or changes direction. Get these areas covered, and you slash leak risks by 90% or more.
Focus on the heavy hitters first. These zones see the most ice buildup and melt-freeze cycles in Buffalo's lake-effect snow blasts.
- Eaves and gutters: Ice dams start here, backing water up under shingles.
- Valleys: Where two roof planes meet, channeling runoff straight to trouble.
- Around chimneys, vents, and skylights: Penetrations create weak seals that ice exploits.
- Rake edges: Side overhangs that wind-driven snow piles into.
Don't skimp on the lower 3-6 feet of your roof deck from the eaves upward. That's prime real estate for shields in our neck of the woods. Pros layer it continuously here for airtight defense.
The Professional Step-by-Step Ice and Water Shield Installation Process
DIY ice shield jobs? Forget it. One slip-up, and water sneaks right past. Our Buffalo roofers nail it every time with this proven process.
Here's How We Do It, Step by Step:
- Prep the deck. We strip back shingles along eaves, valleys, and penetrations. Clean slate, no old debris or nails poking through.
- Prime if needed. Roll on adhesive primer for rubberized shields. It grips like glue in freezing temps.
- Lay the starter strip. Run self-adhering ice shield along the drip edge. Overlap 6 inches for bombproof seals.
- Roll it out wide. Cover 3-6 feet up from eaves, plus valleys and around chimneys. Torch-down or peel-and-stick, we overlap 6 inches minimum.
- Shingle over top. Fasten shingles right through the shield. It self-seals around nails, no leaks.
Whole job wraps in a day for most homes. We check every seam before calling it done. Your roof's now ice-dam proof.

Proven Benefits: Long-Term Protection and Cost Savings
Ice shields deliver battle-tested defense against Buffalo's ice dams. These rubberized membranes stick tight to your roof deck, self-sealing around nails and forming an unbreakable water barrier. No more water creeping under shingles during those endless freeze-thaw cycles.
Key Protection Wins
- Zero leaks even under heavy ice buildup – proven in lab tests to hold back standing water for days.
- UV-resistant and tear-proof, lasting 20+ years without cracking or peeling.
- Breathable design lets moisture escape from below, dodging rot and mold disasters.
Now, the money talk. Skip ice shields, and one bad dam could rack up $10,000+ in water damage fixes – gutted ceilings, ruined insulation, structural headaches. Install them right, and you're slashing repair bills by 80% over a decade, plus boosting your home's resale value by keeping that roof pristine.
Local data backs it: Homes with pro-installed ice shields see near-zero winter claims. It's cheap insurance that pays for itself after the first storm.
Case Study: Rescuing a Kenmore Home from Repeat Ice Dam Leaks
Picture this: A family in Kenmore calls us in January, panicked. Their 1950s ranch home had leaked three winters running. Water poured through the attic after every big snow, ruining insulation and staining ceilings.
Previous fixes? Patches and prayers. They spent over $5,000 on emergency repairs, but ice dams kept winning. No shield meant shingles couldn't stop the melt-refreeze cycle.
Our Fix: Full Ice Shield Overhaul
- Stripped eaves and valleys down to the deck.
- Laid 60-mil ice and water shield across 400 square feet of high-risk zones.
- Re-shingled with top-grade asphalt, sealed tight.
Job done in one crisp day. Cost? Half what they'd blown on band-aids.
One Year Later: Zero Leaks, Happy Homeowners
Fast forward to this winter's brutal storms. Not a drip. Their energy bills dropped too—no soggy insulation sucking heat.
They emailed us: "First dry winter in years. Thanks for stopping those ice dams cold."
Final Words
Buffalo's ice dams don't play fair. They strike hard and fast, turning cozy homes into waterlogged messes. But with a proper ice and water shield, you flip the script.
Your roof stays bone-dry through the worst storms. No more midnight bucket patrols or surprise repair bills. Peace hits different when winter can't touch you.
Ready to Lock Out Leaks for Good?
- Spot ice dam risks on your roof now.
- Call our crew for a no-BS inspection.
- Get shields installed before the next snow dump hits.
We've shielded hundreds of Buffalo roofs from this nightmare. Dive into our full ice and water shield installation details and grab your spot today. Don't wait for the drip.
People Also Ask
What is an ice and water shield?
An ice and water shield is a self-adhering roofing underlayment made of rubberized asphalt that creates a watertight seal around nails and over roof seams. It acts as a secondary barrier to prevent water infiltration from ice dams or wind-driven rain. In Buffalo's harsh winters, this shield is essential for protecting homes from leaks.
Do I need ice and water shield on my entire roof in Buffalo?
No, ice and water shields are typically installed only in vulnerable areas like eaves, valleys, and around roof penetrations, not the entire roof, to balance protection and cost. Full coverage is recommended for low-slope roofs or extreme ice dam risks common in Buffalo. Consult a local roofer to assess your home's specific needs.
How much does ice and water shield installation cost in Buffalo, NY?
Costs range from $1.50 to $3.50 per square foot installed, depending on roof size, accessibility, and material quality, with full projects averaging $1,000 to $5,000 for Buffalo homes. Factors like labor during winter prep or roof complexity can influence pricing. Professional installation ensures warranty coverage and optimal performance.
How long does ice and water shield last?
High-quality ice and water shields last 20-30 years or more when properly installed under roofing materials. They resist cracking, peeling, and UV degradation during exposure. In Buffalo's climate, pairing with proper attic ventilation extends their lifespan significantly.
Can ice dams be prevented with ice shields alone?
Ice shields prevent leaks from ice dams but don't eliminate them; combine with attic insulation, ventilation, and gutter maintenance for full prevention. They seal potential leak points effectively during Buffalo's freeze-thaw cycles. Professional roofers recommend a holistic approach for long-term roof health.
Need Roofing Services?
Fast roof repairs and replacements deliver leak-proof protection in Buffalo, NY and nearby areas (14201, 14202, 14213, 14215, 14221).
Get Roofing Quote