
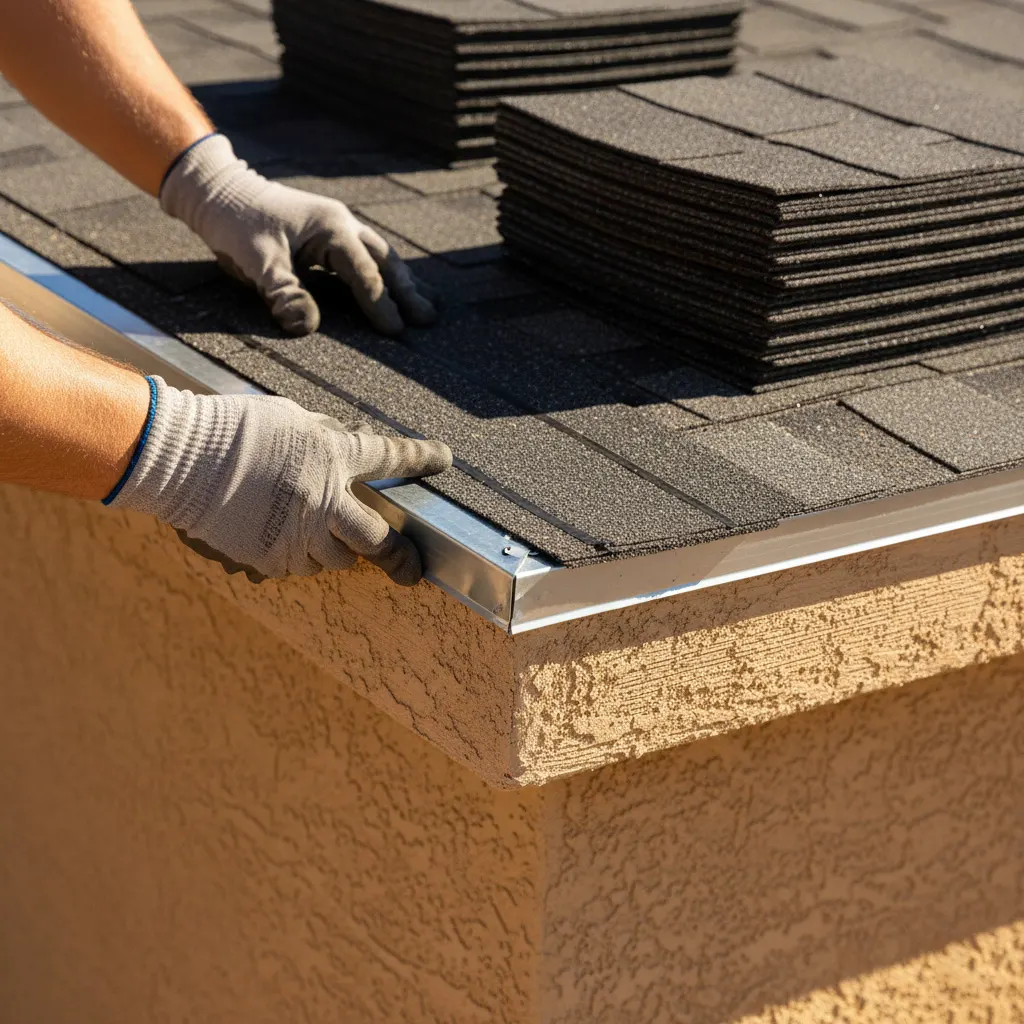


⚡ TL;DR: This guide outlines the complete asphalt shingle roof installation process in Columbia, covering essential steps from initial property preparation and decking inspections to final cleanup and maintenance tips.
📋 What You’ll Learn
Preparing for a new roof is a major home investment. This guide outlines the essential steps of asphalt shingle installation in Columbia, SC, ensuring your home remains protected and structurally sound.
- Understand the critical prep steps necessary to safeguard your Columbia property, including how we protect your landscaping, siding, and delicate fixtures from damage during the heavy lifting process.
- Identify common hidden decking issues that our crew frequently uncovers during the tear-off phase, ensuring that any rot or structural weakness is corrected before new shingles are applied.
- Explore the vital foundation layers that keep your roof watertight, focusing on high-quality underlayment and ice and water shields specifically chosen to withstand our humid South Carolina climate.
- Master proper ventilation and installation techniques that prevent premature shingle failure, help regulate your attic temperatures, and maximize the overall lifespan of your new roofing system investment.
- See our real-world restoration process by reviewing a recent case study of a roof replacement in the historic Shandon neighborhood following severe local storm damage and wind events.
📖 Reading time: 7 min
✍️ Author expertise: Master roofer with two decades of experience installing residential roofs across Columbia, SC.
You wake up after a heavy South Carolina storm, walk outside, and spot a patch of shingles scattered across your lawn like a losing hand of poker. It is the moment every Columbia homeowner dreads, but it is also the ticking clock that tells you your home's first line of defense is failing.
Replacing a roof is one of the biggest investments you will make, yet most people have no idea what actually happens once the crew shows up at the curb. You deserve to know exactly what goes into a professional install before you let anyone tear into your biggest asset.
I am going to break down the entire process from the first rip to the final inspection so you can spot quality work from a mile away. Keep reading to see how we handle your roof installation from start to finish.
Pre-Installation Preparation: Protecting Your Columbia Property
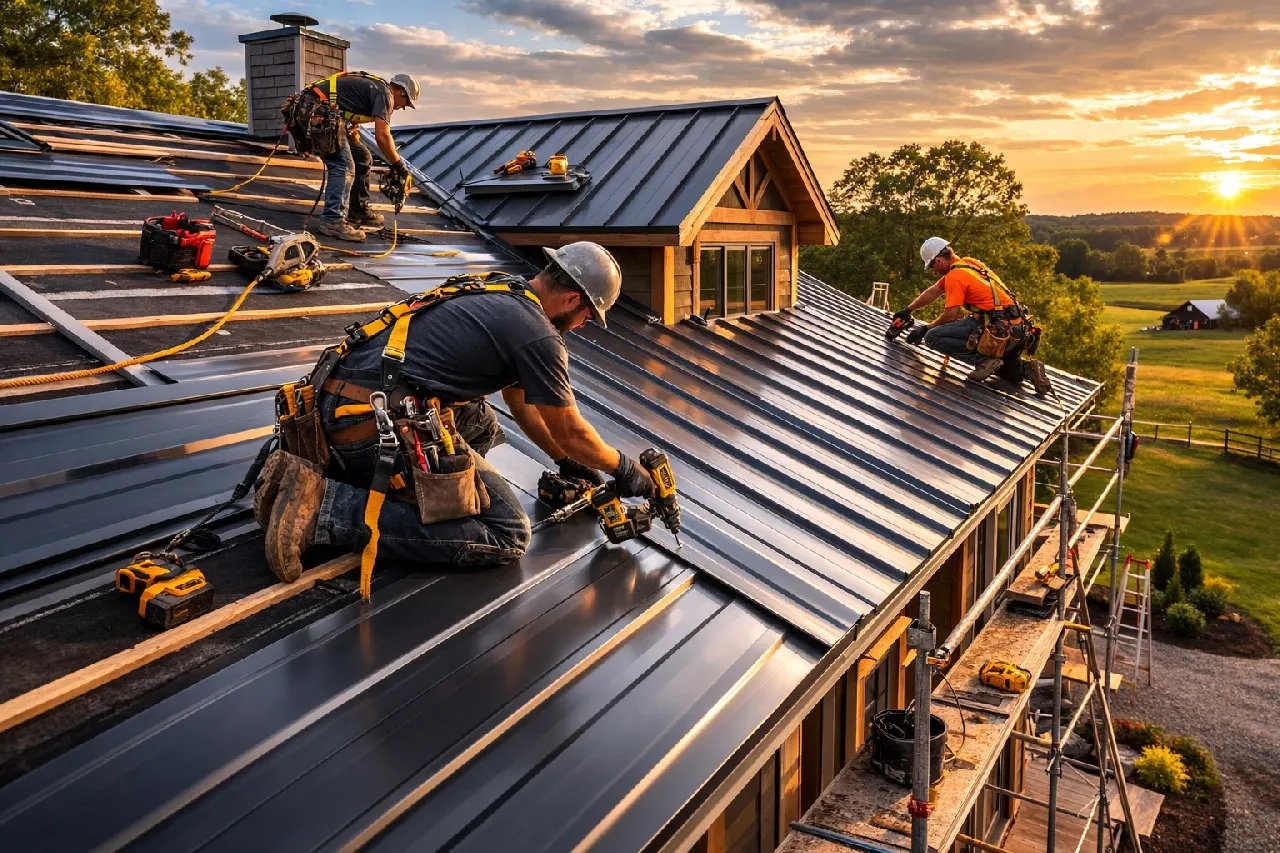
Before our crew sets foot on your lawn, we treat your property like it belongs to our own family. A professional install isn't just about nailing shingles; it's about making sure your landscaping, driveway, and siding stay in one piece while we work above them.
We start by creating a protective barrier around your home. We use heavy-duty tarps to shield your prized flower beds, shrubs, and exterior fixtures from falling debris.
Here is how we set the stage to keep your home pristine:
- Strategically placing plywood boards over delicate windows and glass light fixtures.
- Setting up high-capacity dump trailers to catch old shingles before they ever touch the grass.
- Securing perimeter fencing to keep pets and neighbors away from the active work site.
Your property is not a construction zone for the duration of our visit. We keep the site tight, organized, and clean from the second we back the trucks into your driveway.
If you have outdoor furniture or patio decor, we ask that you shift those items to a safe spot. Once that is done, we handle the rest of the heavy lifting to ensure your property looks like we were never there—other than your brand new, high-performance roof.
The Tear-Off Process: Identifying Underlying Decking Damage
Once our crew arrives, we don't just slap new shingles over the old ones. We strip your roof down to the bare wooden skeleton to see exactly what is happening beneath the surface.
This phase is critical because your roof is only as good as the wood it sits on. If we find rot or water damage, it has to be fixed now or your new roof will fail prematurely.
What We Look For Underneath
Hidden issues are common in older Columbia homes, especially after years of high humidity and heat. We specifically inspect the plywood or OSB decking for these red flags:
- Soft spots caused by long-term moisture seepage.
- Cracked or warped boards that can no longer hold a nail.
- Water stains that indicate past leaks that were never properly repaired.
- Sagging sections that suggest the structural integrity of the roof deck is compromised.
If we find compromised wood, we replace it with fresh, solid plywood. It is the only way to ensure your new shingles have a stable, secure base to grip onto for the next thirty years.
You might be tempted to skip this part to save a few dollars, but doing so is a massive gamble. We refuse to install premium roofing materials on a rotten foundation, period.
3. Installing the Foundation: Ice, Water Shield, and Underlayment Essentials
Most homeowners think a roof is just shingles sitting on wood. They are dead wrong. The real secret to a roof that doesn't leak during a humid South Carolina downpour is what happens underneath those shingles.
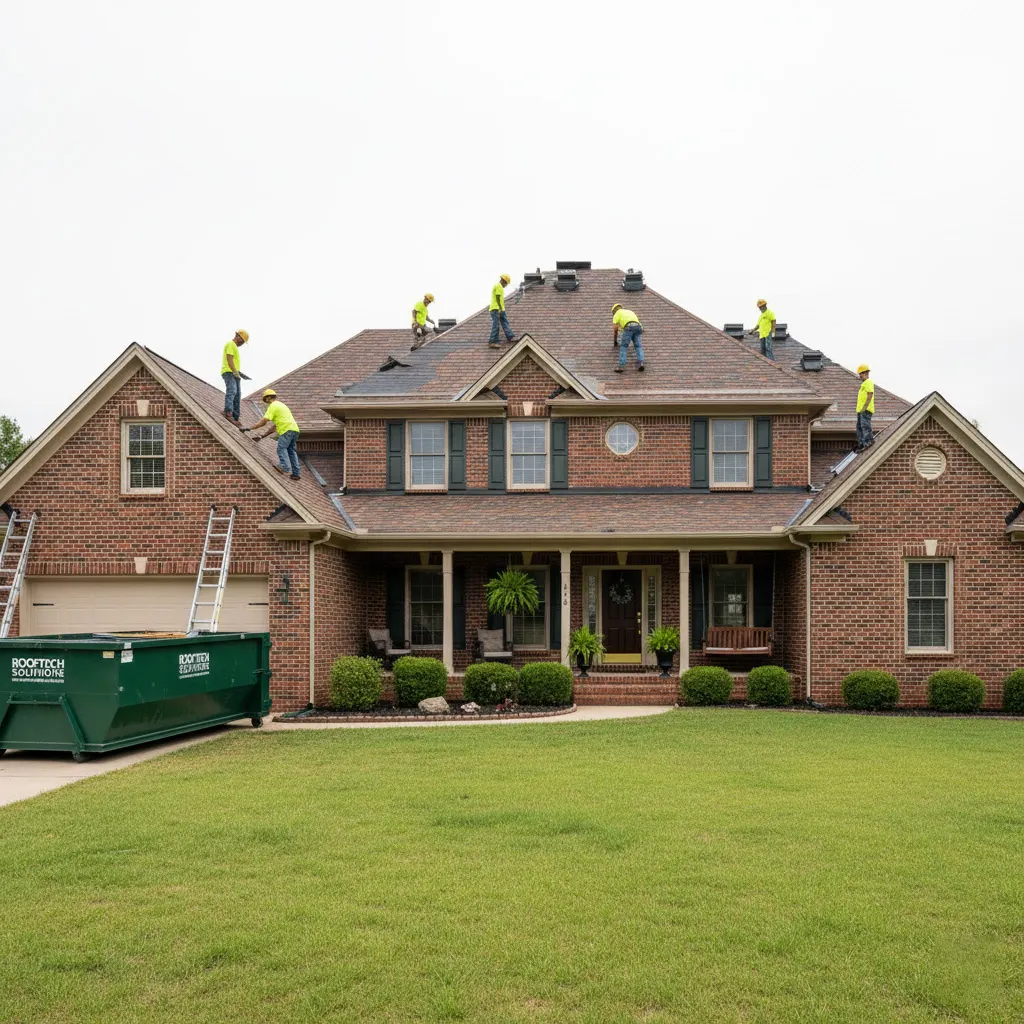
Think of this layer as your home's moisture insurance policy. We start by applying a high-grade ice and water shield along your eaves, valleys, and around chimneys. These are the danger zones where water loves to creep in.
After that, we roll out synthetic underlayment across the entire deck. Unlike the old-school tar paper that rips if you look at it the wrong way, this modern material is tough, slip-resistant, and acts as a secondary waterproof barrier.
Why this layer is non-negotiable:
- It prevents wind-driven rain from soaking into your roof deck.
- Synthetic underlayment is far more durable than traditional felt during the installation phase.
- It helps your roof breathe while keeping moisture out, which is vital for Columbia's erratic climate.
If a contractor skips this step or uses cheap, thin felt, your expensive shingles will be sitting on a ticking time bomb of rot. We treat this foundation like the base of a house because, frankly, without it, the rest is just decoration.
4. Shingle Application and Proper Ventilation Techniques
Once the foundation is secure, we begin the precision work of layering your shingles. We start with a starter strip at the eaves to ensure a watertight seal along the edges where wind-driven rain is most aggressive. From there, we move upward in a staggered pattern, which isn't just for aesthetics; it provides the structural overlap necessary to keep water running off the roof rather than under it.
Placement is everything. If the nails aren't driven into the exact depth or if the shingles aren't aligned to cover the nail heads of the row below, your roof becomes a ticking time bomb for leaks. We use high-grade fasteners and follow strict manufacturer specs to ensure your warranty stays rock solid.
The Hidden Workhorse: Ventilation
Most Columbia homeowners ignore their attic ventilation, but this is the secret to a roof that lasts thirty years instead of fifteen. Without proper airflow, heat builds up in your attic during our brutal South Carolina summers, literally baking your shingles from the underside and curling them prematurely.
We install a balanced ventilation system that creates a continuous flow of air through your attic. Here is how we ensure your roof can actually breathe:
- Installing high-capacity ridge vents along the peaks to allow trapped hot air to escape.
- Ensuring intake vents in your soffits are clear and unobstructed to pull cool, fresh air into the system.
- Installing proper baffles to prevent insulation from blocking that critical airflow.
Think of your roof like a suit. Even if you buy the best fabric in the world, it won't matter if the stitching is sloppy or the fit is tight. We focus on the fit so the air moves freely and the shingles stay flat, dry, and anchored through every summer heatwave and afternoon thunderstorm.
Case Study: Restoring a Shingle Roof in Shandon Following Storm Damage
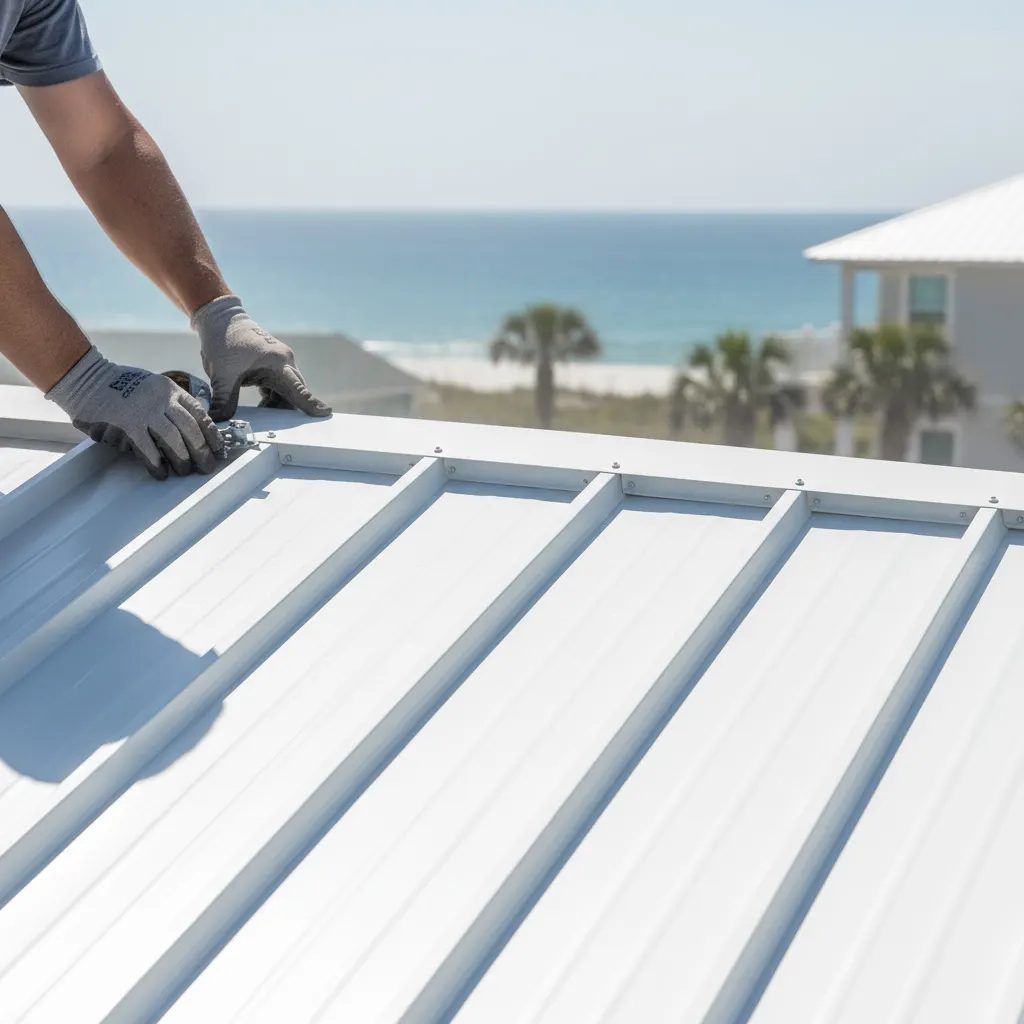
When a severe thunderstorm rolled through the historic Shandon neighborhood last spring, it left behind more than just downed tree limbs. One of our clients called us in a panic after discovering water spots on their ceiling and a significant amount of missing asphalt shingles.
We arrived to find that the high winds hadn't just peeled back the top layer. The storm had compromised the structural integrity of the roof deck itself, exposing hidden rot that had been brewing for years.
The Shandon Repair Strategy
This project required a surgical approach to prevent further damage to the home's interior. We followed a strict protocol to restore the property to better than its original state:
- First, we performed a thorough inspection of the roof decking, replacing water-damaged plywood sections immediately to ensure a solid foundation.
- We installed high-grade synthetic underlayment, which offers superior protection against the humid Columbia climate compared to traditional felt paper.
- Our team ensured every shingle was hand-nailed rather than relying on air guns to prevent the common issue of over-driven nails that lead to leaks.
By the time we finished, the roof wasn't just repaired; it was fortified against the next round of Midlands storms. The homeowner was thrilled to see that we protected their landscaping and driveway during the entire two-day installation process.
Final Inspection and Debris Removal: Leaving Your Home Better Than We Found It
Once the final ridge cap is nailed down, the real work begins—the cleanup. A professional crew knows that a job isn't finished until your property looks better than it did before we arrived.
We perform a thorough site sweep to ensure no sharp materials are left behind. We use industrial-strength magnets to scour your driveway, flowerbeds, and lawn for loose roofing nails.
Here is our specific checklist for a clean job site:
- Running magnetic rollers through every inch of the yard to catch hidden fasteners.
- Clearing out all shingle debris, plastic wrap, and packaging materials from your gutters.
- Sweeping walkways and patios to remove dust and grit from the tear-off process.
After the cleanup, we conduct a detailed final walkthrough with you. We don't just admire the view from the street; we inspect every flashing point, vent, and valley to confirm the install meets our strict standards.
You should expect your contractor to be just as picky as you are. If a single shingle looks out of place or a piece of drip edge is slightly crooked, we fix it before we leave. We want you to feel complete confidence in your investment the moment our truck pulls away from the curb.
Final Words: Ensuring Long-Term Value Through Professional Maintenance
Your brand-new roof is a high-performance machine, not a set-it-and-forget-it appliance. Even the best Asphalt Shingle Roof Installation can lose its edge if you ignore the basics of home care.
Think of maintenance like changing the oil in your car. A few minutes of proactive attention prevents a catastrophic breakdown three years down the road.
Three Pillars of Roof Longevity
- Schedule annual inspections: Ideally, have a professional check your shingles after the peak heat of August or the heavy spring rains.
- Clear your gutters: Debris creates dams that force water back under your shingles, rotting your decking from the inside out.
- Trim overhanging branches: While shade feels nice, rubbing limbs act like sandpaper on your asphalt granules and provide a highway for pests to invade your attic.
Keep a close eye on your attic ventilation, too. If your home feels like a sauna in July, your shingles are cooking from the bottom up, which drastically shortens their service life.
When in doubt, document what you see. If you notice dark spots on your ceiling or loose grit in your gutters, call your installer before the problem becomes a structural nightmare.
People Also Ask
How much does a new asphalt shingle roof cost in Columbia, SC?
The cost of an asphalt shingle roof in Columbia typically ranges between $7,000 and $15,000 depending on the size of your home and the materials selected. Factors such as roof pitch, architectural complexity, and necessary decking repairs will also influence your final estimate.How long does an asphalt shingle roof installation take?
For most standard residential homes in Columbia, a professional team can complete a full shingle roof replacement within one to three days. Variables like extreme heat, unexpected weather, or significant structural repairs may extend the project timeline.Do I need a permit for roof replacement in Columbia, South Carolina?
Yes, the city of Columbia and surrounding Richland County municipalities generally require building permits for residential roof replacements. A reputable roofing contractor will handle the permit application process and ensure all work meets local building code requirements.How often should I replace my asphalt shingle roof in South Carolina?
While asphalt shingles are durable, the intense South Carolina sun and humidity typically limit their lifespan to about 15 to 25 years. You should schedule professional inspections annually to identify signs of wear, such as curling, missing granules, or leaks, before they cause interior damage.What should I do to prepare my property for roof installation?
To prepare for installation, you should remove wall hangings, fragile items, and vehicles from your driveway and garage. It is also helpful to clear your yard of patio furniture and potted plants to protect your landscaping from falling debris during the tear-off process.Need Roofing Services?
We install and repair roofs quickly to protect homes across Columbia and nearby areas (29201, 29205, 29209, 29072, 29169).
Get Roofing Quote