


⚡ TL;DR: This guide covers assessing attic conditions and completing roof ventilation installation for Alexandria homes, with steps suited to Virginia's climate, a case study, and maintenance tips for better efficiency.
📋 What You’ll Learn
In this comprehensive guide to roof ventilation installation for Alexandria homes, you will discover essential techniques, climate-specific recommendations, and practical steps to improve attic airflow and energy efficiency.
- Assess attic conditions thoroughly by spotting ventilation gaps and insulation problems typical in older Alexandria homes to prepare for effective roof ventilation upgrades.
- Select suitable ventilation systems designed specifically for Virginia's variable climate to maximize performance and prevent common issues like ice dams during Alexandria winters.
- Prepare tools materials and safety measures essential for a successful roof ventilation installation project on Alexandria homes ensuring compliance and worker protection.
- Follow the detailed installation process we use on local homes including ridge vent upgrades demonstrated in our 1980s colonial case study.
- Conduct post-installation checks and apply maintenance tips that deliver energy savings and long-term roof health for your Alexandria property.
📖 Reading time: 7 min
✍️ Author expertise: Alexandria roofing expert providing real-world installation guidance from extensive field experience in local homes.
When summer hits Alexandria, your attic can bake like an oven and bake your roof right along with it. That trapped heat and moisture sneaks in fast, warping shingles and driving up your cooling bills before you even notice.
Most homeowners skip proper roof ventilation until leaks or mold show up, yet a few smart moves during installation keep the whole system breathing right and your home cooler year-round.
Here is the exact process we use on Alexandria roofs to get ventilation that lasts and actually cuts those headaches.

Assessing Attic Conditions and Ventilation Gaps in Alexandria Homes
Start by heading into your attic on a hot afternoon when the sun beats down hard on those Alexandria roofs. Feel the air up there. If it hits like a sauna with moisture clinging to the rafters, you already know the vents are not pulling their weight.
Check the insulation for dark spots or sagging spots that scream trapped humidity. Look along the eaves and ridge for blocked paths where air should flow out but gets stuck instead.
- Hot spots near the ceiling
- Mold streaks on wood
- Shingle grit collecting in corners
These gaps matter because Virginia summers push attic temps past 130 degrees fast. Measure the existing intake and exhaust openings against what your square footage needs. That tells you exactly where to add or fix vents before any new system goes in.
Selecting the Best Roof Ventilation Systems for Virginia's Climate
Virginia weather swings hard from sticky summers to icy winters, so your roof vents need to handle both heat buildup and moisture without failing. Ridge vents paired with soffit intake often work best here because they create steady airflow that keeps attics dry even during those long humid stretches.
Think about your home's setup before picking anything. Older Alexandria houses might need turbine vents for extra pull on calm days, while newer builds do fine with simple static options. Here are quick points to weigh:
- Check local wind patterns and snow load first.
- Match vent size to your attic square footage.
- Pick materials that resist salt air if you're near the river.
Power vents add a boost when passive systems fall short, but they cost more upfront and need power. Test a few options against your roof pitch and existing insulation to land on what actually cuts energy bills without extra headaches.
Gathering Tools, Materials, and Safety Prep for Installation
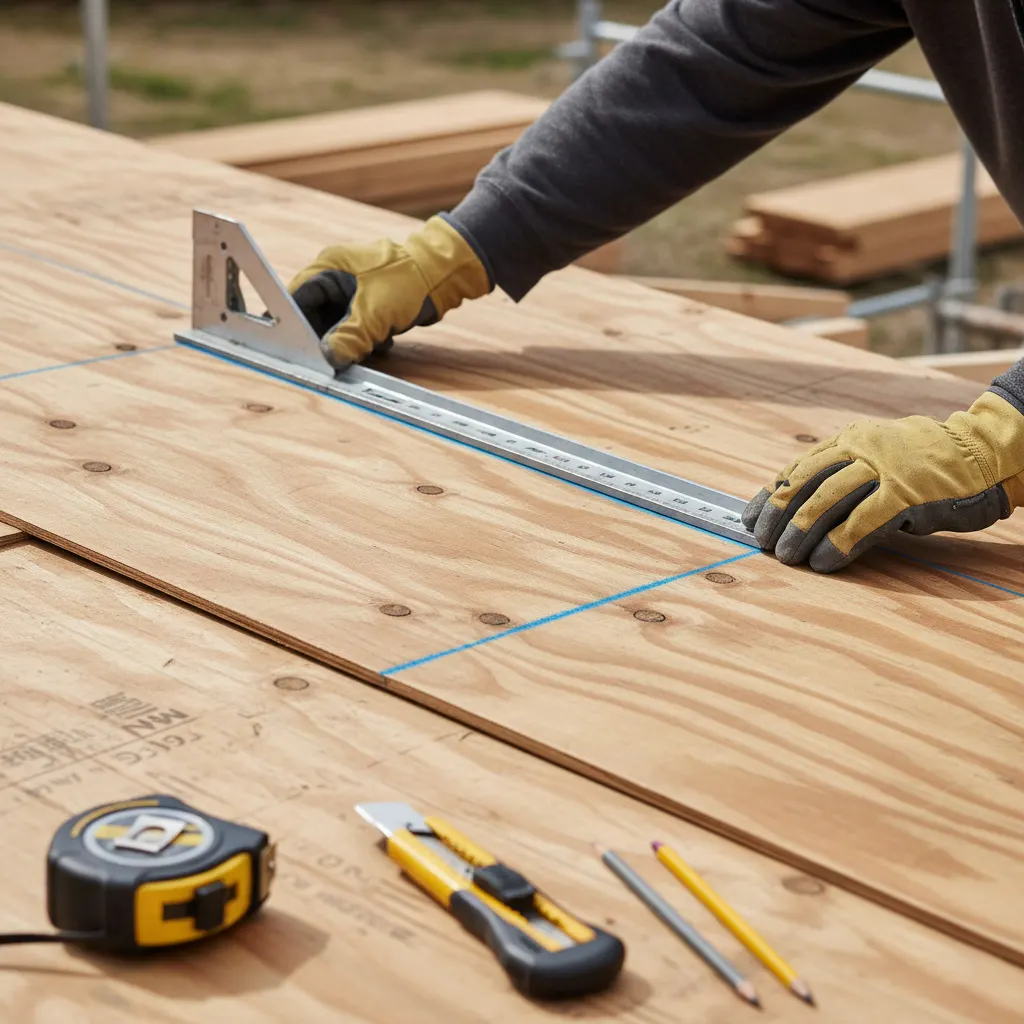
Start with the basics that actually get the job done right on Alexandria roofs. You need a solid hammer drill, circular saw, utility knives, chalk line, and a good set of tin snips for cutting vents clean. Throw in a tape measure, level, and pry bar to handle old shingles without wrecking the deck.
Materials make or break the airflow once summer heat rolls in. Grab ridge vent sections sized for your roof run, intake vents for the eaves, flashing strips, and high-temp sealant rated for Virginia temps. Stock up on roofing nails, drip edge pieces, and underlayment patches to seal every cut.
Safety comes first before you step on that ladder. Wear non-slip boots, a hard hat, and gloves that grip. Set up stable scaffolding or harnesses on steeper pitches, and check the weather so you avoid wet shingles that send you sliding.
Step-by-Step Roof Ventilation Installation Process We Follow
We hit the roof deck only after double-checking every shingle and rafter for rot or weak spots. One bad cut here ruins the whole job and costs you more later.
Here is exactly how we knock out the install without shortcuts.
- Mark the ridge line and soffit spots with chalk, then slice clean openings using a circular saw set to the right depth.
- Slide in the ridge vent material and nail it every six inches so it sits flush and sheds water right.
- Fit soffit vents in the eaves, seal the edges with flashing tape, and run a final airflow check from one end to the other.
Once everything locks down we walk the roof again to spot any lifted edges before we call it done.

Case Study: Ridge Vent Upgrade on a 1980s Alexandria Colonial
This 1980s colonial sat in an older Alexandria neighborhood with poor original soffit vents that barely moved air. Summers turned the attic into a heat trap that warped shingles and pushed cooling costs through the roof. The owners called us after spotting black spots on the ceiling joists from trapped moisture.
We pulled the old vents and ran a continuous ridge vent across the full 42-foot peak. New intake baffles went in at the eaves to keep insulation clear and airflow steady. We sealed every edge tight against Virginia's humidity swings.
Three months later the attic stayed 20 degrees cooler on peak days. Their electric bill dropped by 28 percent that first summer with zero mold return. The shingles stopped buckling too.
Post-Installation Checks, Maintenance Tips, and Energy Savings
Once the vents sit in place on your Alexandria roof, walk the attic first thing. Spot any missed gaps around the new ridge or soffit sections. Fire up a fan at one end and watch the smoke pull straight out the other to confirm real airflow.
Keep the system sharp with these moves every season.
- Clear leaves and pine needles from soffit screens before they block the intake.
- Check ridge cap seals after heavy storms for any lift or cracks.
- Replace damaged screens on gable vents the moment you see tears.
Those steps pay off fast in lower power bills. Homes with solid ventilation here cut cooling costs by 15 to 20 percent each summer. The roof stays cooler, shingles last longer, and you skip the mold fights that hit most older colonials.
Conclusion
Getting roof ventilation right stops the attic from turning into a heat trap that ruins shingles and spikes your power bill. The steps we covered show exactly how to size and place vents so air flows steady through summer and winter in Alexandria homes.
Proper setup also cuts moisture buildup that leads to mold and rot over time. Homeowners who handle this now see lower cooling costs and fewer surprise repairs down the road.
If your current system feels off, look at our Roof Ventilation Installation options to match what your roof needs.
We deliver fast roof repairs and installations across Alexandria, VA and nearby areas (22301, 22302, 22304, 22305, 22314), providing durable protection that keeps properties secure from the elements.People Also Ask
What signs indicate poor attic ventilation in Alexandria homes?
Excessive heat buildup, mold growth on rafters, and ice dams during winter are common indicators of inadequate roof ventilation. Homeowners in Alexandria often notice higher energy bills and musty odors when airflow gaps are insufficient. Professional assessment helps identify these issues before they lead to structural damage.
Which roof ventilation system works best for Virginia's humid climate?
Ridge vents combined with soffit intake vents provide balanced airflow that handles Alexandria's humidity and seasonal temperature swings effectively. These systems prevent moisture accumulation while maintaining consistent attic temperatures year-round. Local roofing experts recommend them for most Colonial-style homes in the area.
How long does professional roof ventilation installation take?
Most roof ventilation projects in Alexandria are completed within one to two days depending on the home's size and existing structure. The process includes precise cutting, sealing, and integration with current roofing materials to avoid leaks. Experienced crews minimize disruption while ensuring code compliance.
Can roof ventilation installation reduce energy costs in Alexandria homes?
Proper ventilation reduces attic heat gain, which lowers cooling demands during Virginia summers and prevents heat loss in winter. Homeowners typically see measurable savings on HVAC usage after upgrading to an efficient system. Regular maintenance further extends these energy benefits over time.
Need Roofing Services?